 Loading... Please wait...
- My Account
- Order Status
- Wish Lists
- Gift Certificates
 View Cart
 - Call Toll Free (888) 460-6324
Our Newsletter
Products

- Home
- FAQ / Product Knowledge
- New England Classic Product Knowledge
- Wainscot Paneling Installation Overview
Wainscot Paneling Installation Overview
Stair PanelSet | Features & Benefits | Tech Info | Project Ideas | Installation Manual | Environmental Story | FAQ | Request Brochure | Warranty
The straightforward installation of New England Classic paintable panel systems was shown in a detailed, article at Today's Homeowner - A Classic Upgrade, Wake up your Walls with Raised-Panel Wainscoting, by Joseph Truini.
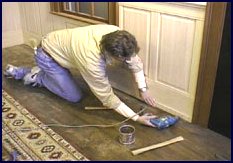
| Each package of New England Classic products comes complete with an installation guide. Here are the highlights of the installation process. | |
|
1
|
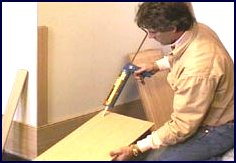 |
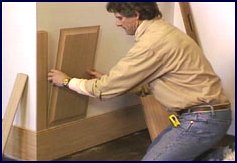
| 2 Slip the panels into the groove at the top of the bottom rail. |
|
|
3 |
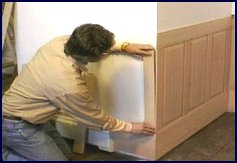 |
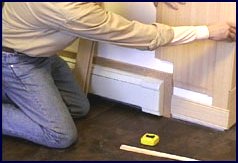
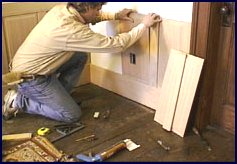
| 4 Frame a baseboard heater with 3/4"-thick wood and notch the panels and stiles to fit around it. |
|
|
5 |
 |
|
6 |
|
|
7 |
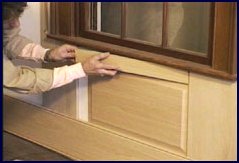 |
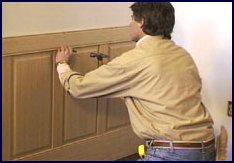
| 8 The top rail will hold all the panels and stiles to the wall. If nailing by hand, use a nail set to drive the nail head into the nailing groove. |
|
|
9 |
 |
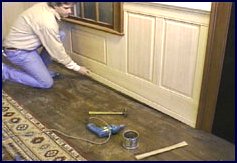
| 10 Pre-drill if nailing by hand. If you use an air-nailer, this is unnecessary. |
|
|
11 |
 |

